This cassette-based 4 tracker portastudio was in a bit of rough shape as it originated as a donor for another repair, the plastic head ‘sleeper’ (which mounts the heads and also holds a strong spring to maintain pressure when playing) had broken.
More so the transport was all gummed up and hardly moved, the main capstan drive belt had somewhat stretched with age, so nothing worked mechanically at first.
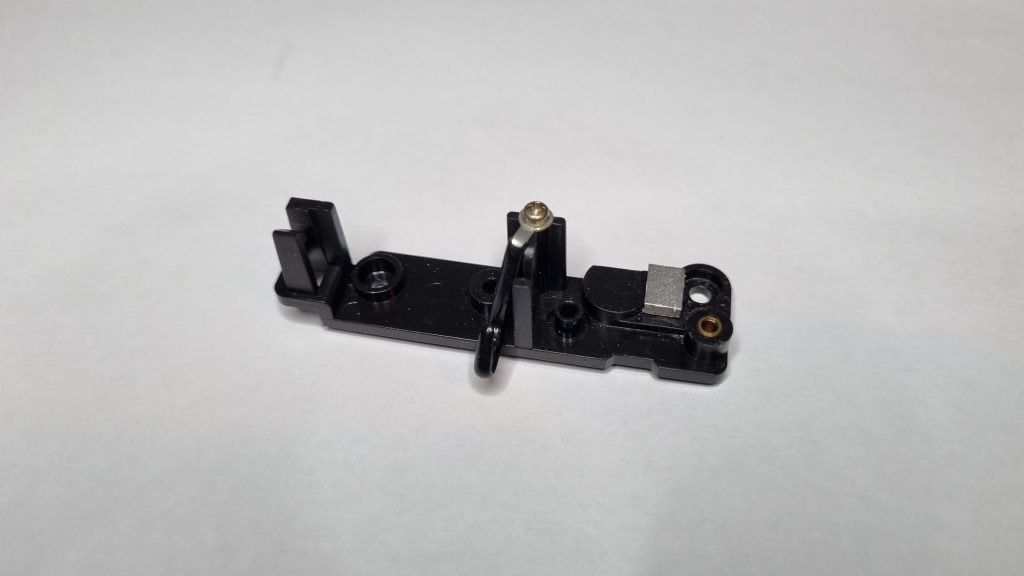
I needed to fix the broken plastic as otherwise the heads would not be able to engage properly. A section of solid aluminium was first milled, before gluing into place along the plastic split line to support and prevent a recurrence.
Also needed a small amount of top surface filing to shape as to not interfere with the height placement of the PB/REC head (click to enlarge):

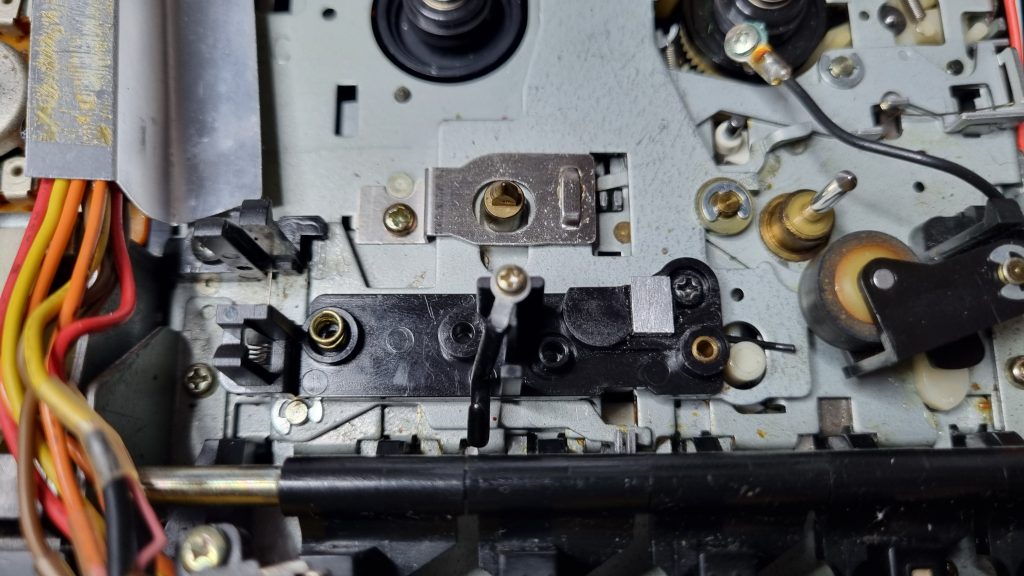
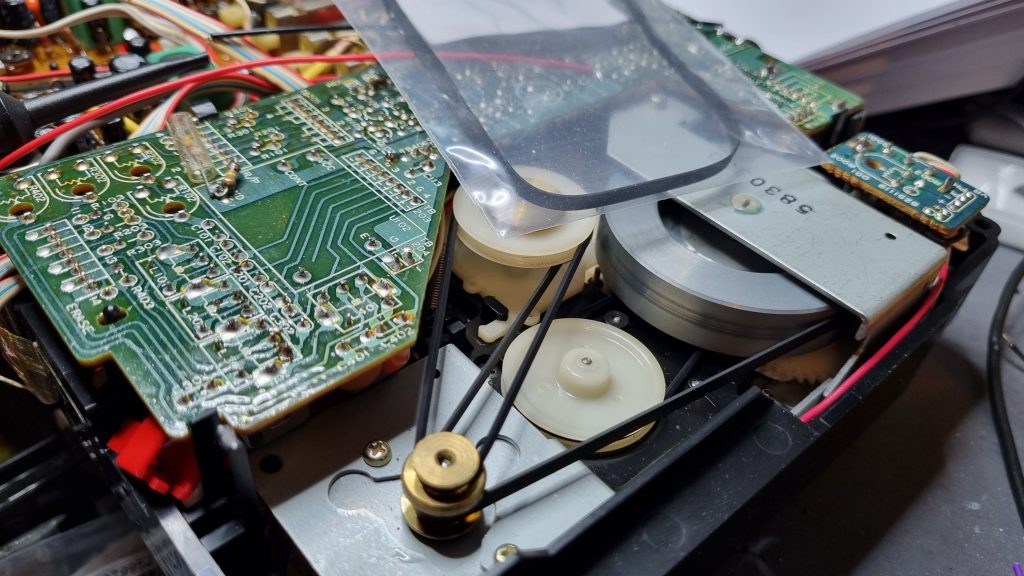
The tape transport mechanism was stripped, cleaned and relubricated, including lubrication of the motor and capstan shaft sintered bronze bearings.
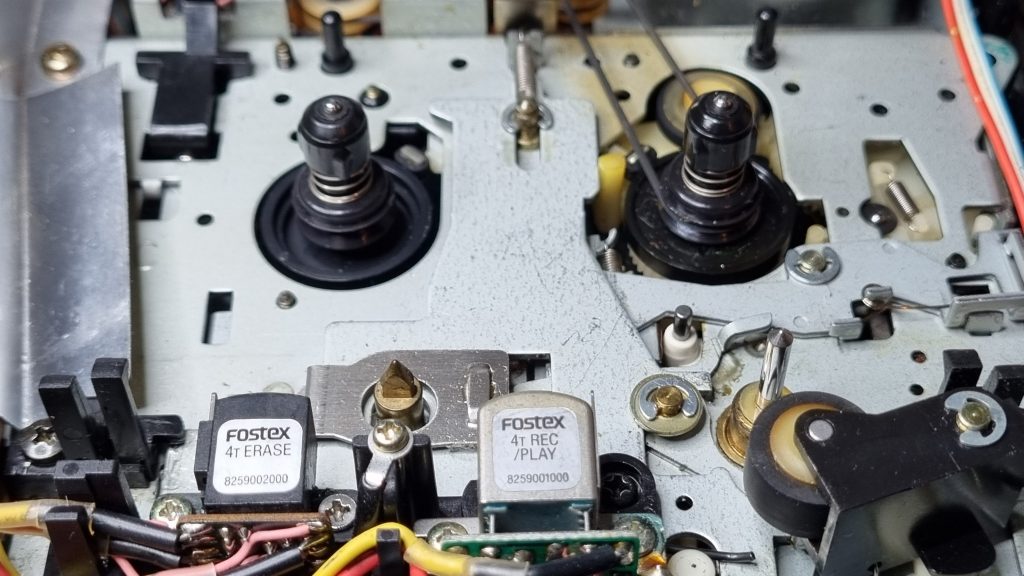
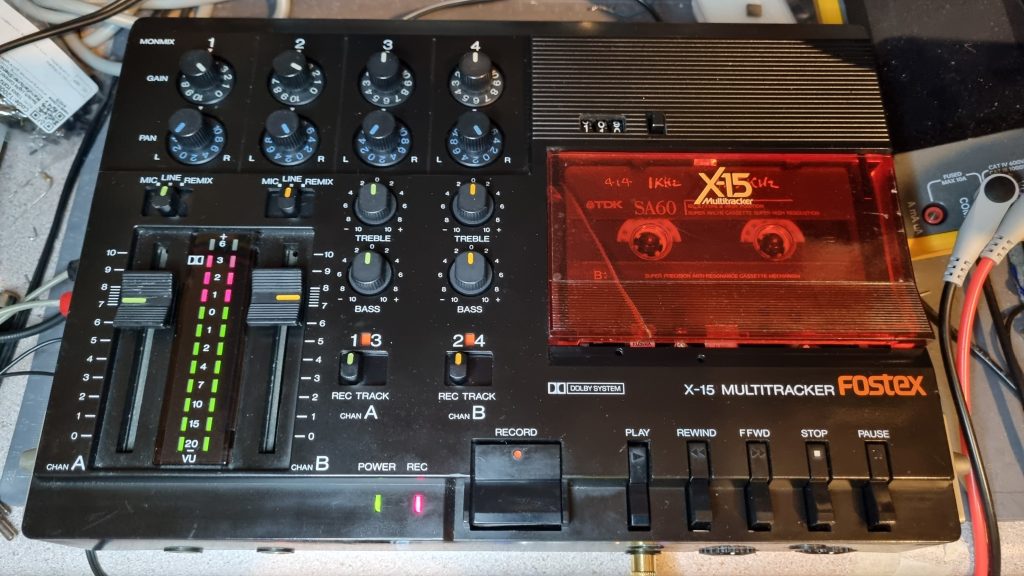
Not all the original head screws were present so I had to make do with what was available (and a new M2 screw for the erase head) – also whilst the assembly was stripped down, a new 4mm belt was fitted:
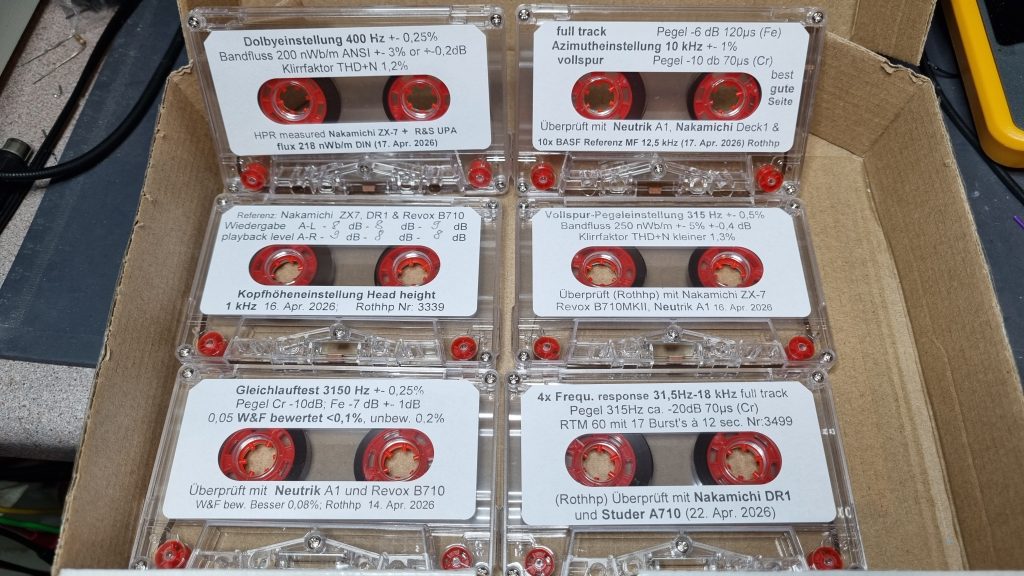
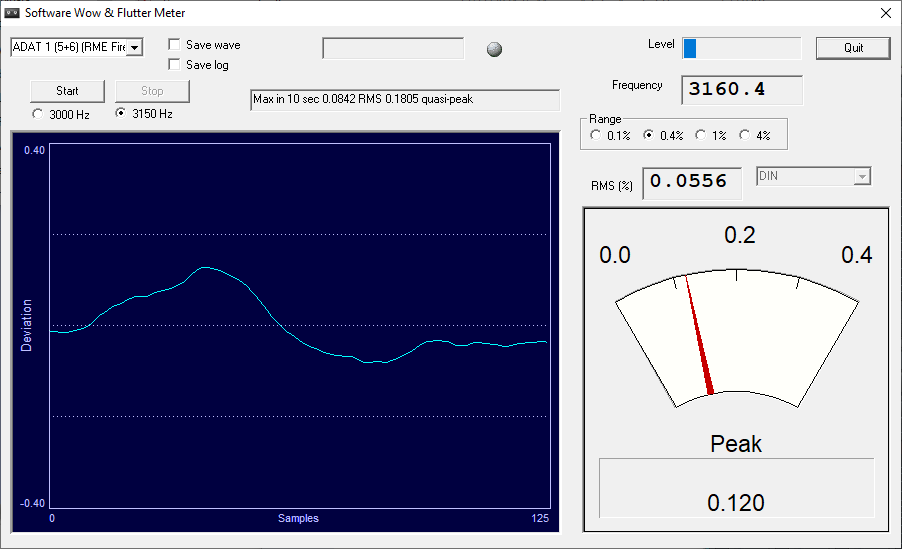
Once the mechanics and electricals were confirmed to be all ok (pressing play etc now actually engaged everything as intended!), we begin the alignment and calibration process, first checking speed, head height, azimuth (and W&F whilst there), using quality test tapes from Hanspeter Roth
I find it important to have full track tapes particularly for 4 track decks as it means we can check all 4 channels in the correct playback orientation, and as such, azimuth between channels 1 and 4 will give best accuracy of alignment (although in practice this is still quite tricky given the limited guides and cassette housings etc).
Still, a W&F of 0.056% WRMS (max 10 second of 0.084%) for cassette is nothing to be sniffed at, particularly when the spec is 0.100% RMS, 0.12 peak
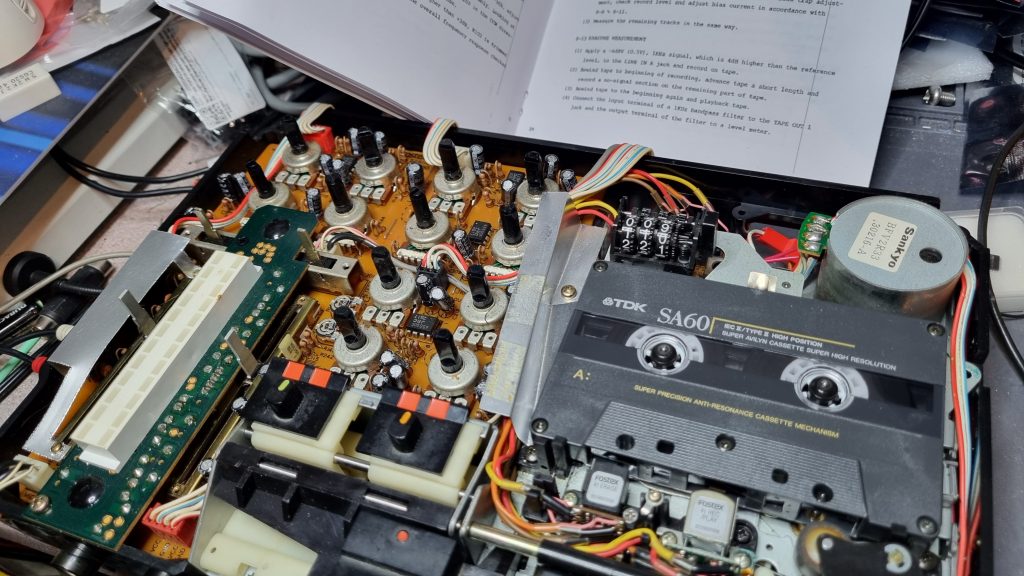
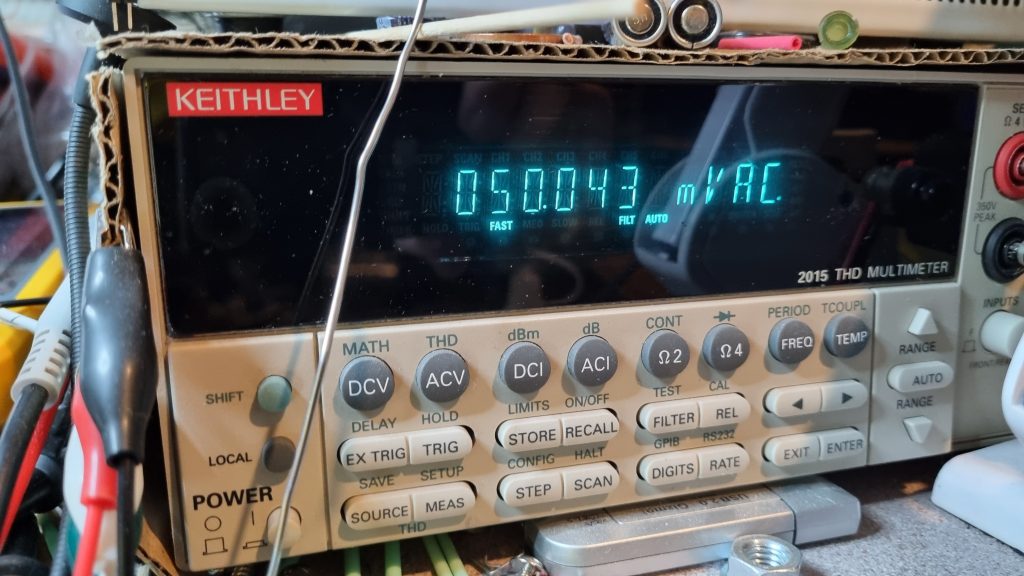
We then check and adjust the bias current to the 50mV initial values (these will be tweaked later if recording frequency response isn’t quite right on the tape used)

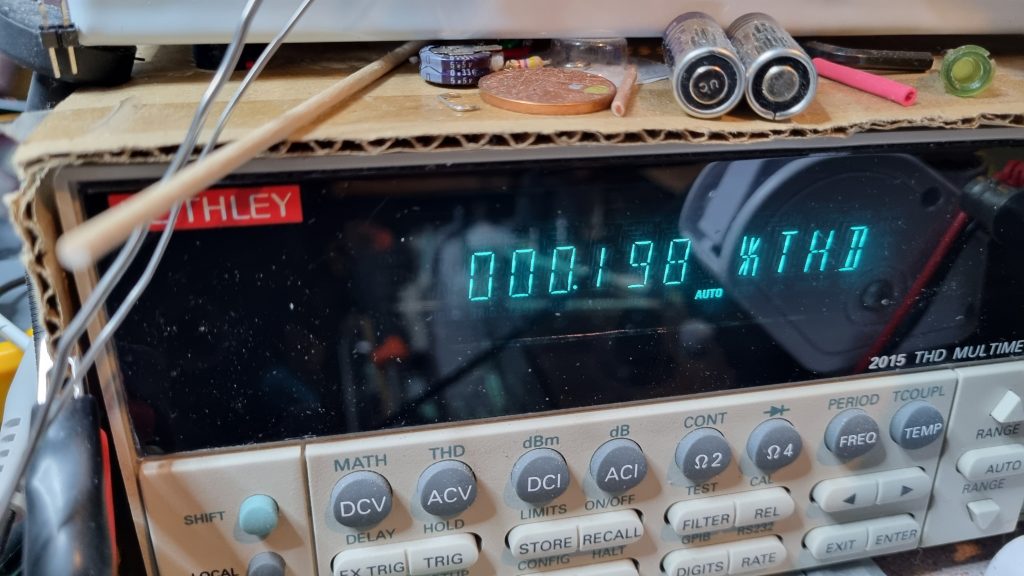
After recording alignments complete, a THD (Total Harmonic Distortion) figure of 0.198% was measured (average was about 0.17% and spec is 1.5%)
The pots were cleaned and the excess drag when turning was slightly released with some solvent.
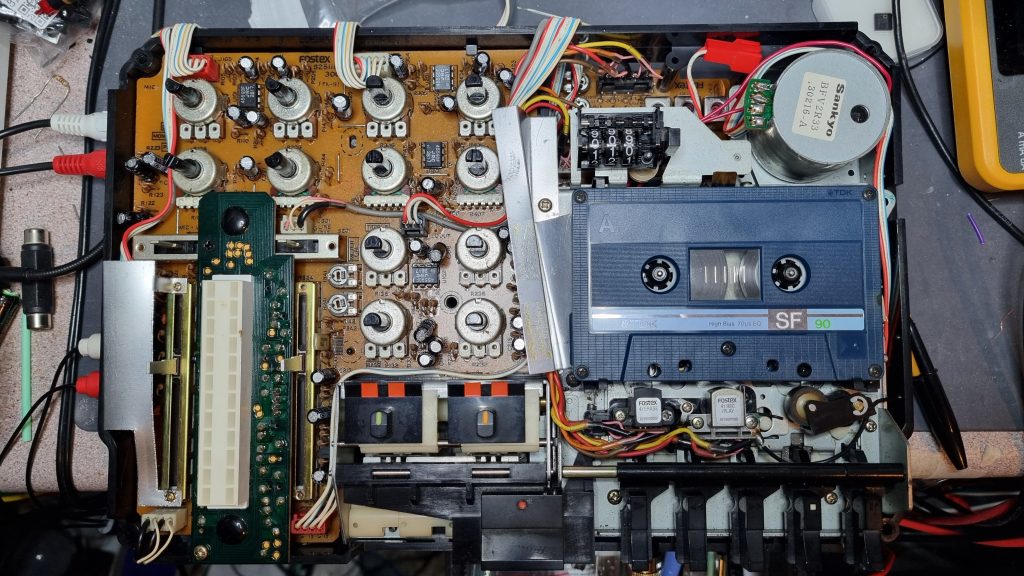
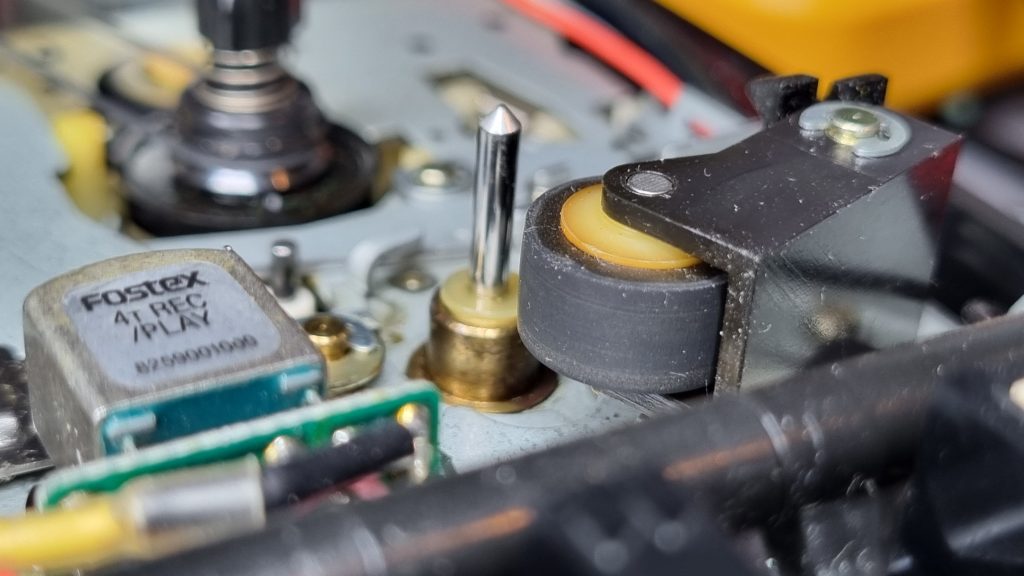
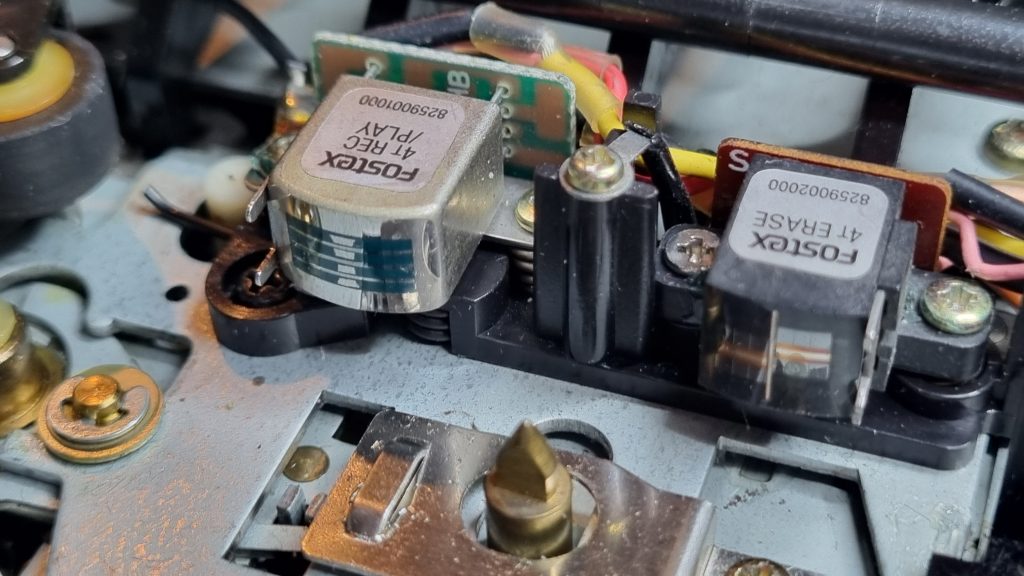
The pinch roller was treated to some Rubber Roller Restorer to remove some hardened deposits and restore a nice matte sheen/grip. Some images of the pinch roller/capstan and heads all in good serviceable condition, I couldn’t feel or see any head wear under microscope, indicating a fairly low hour unit:
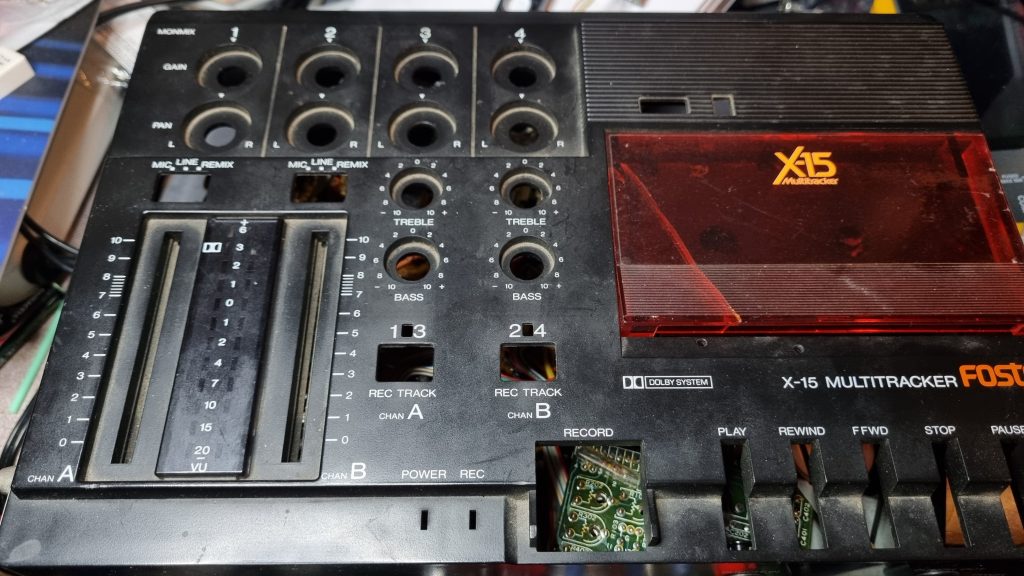
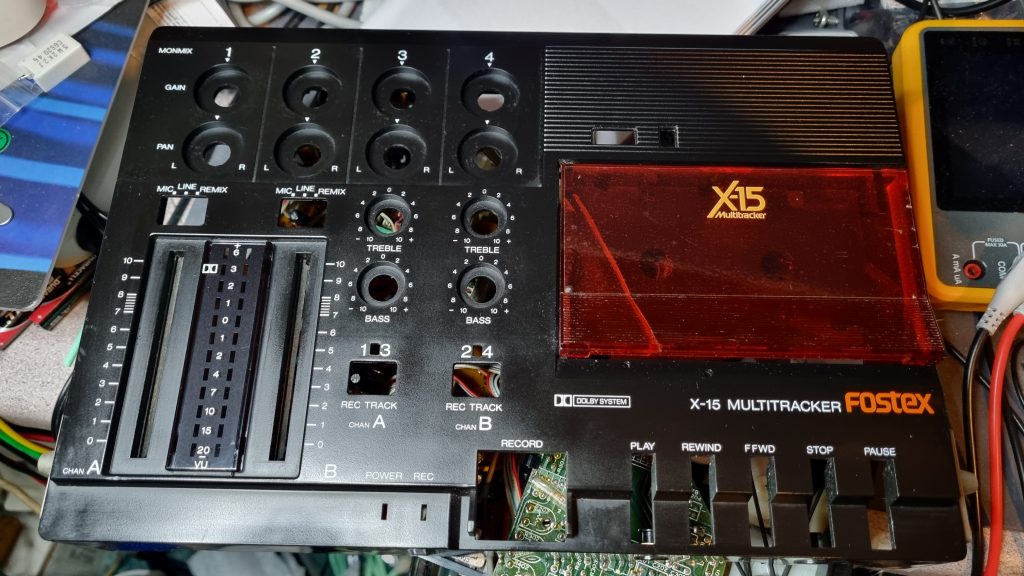
The case was quite dirty, so a quick spruce up improved things no end – pity the tape door cover is cracked, however still works no problem. Before and after (click to zoom):
Routing of cables during reassembly – important to not have anything get pinched, particularly the cables around the record selector switches as mentioned in the service manual.

Final real-world testing involving recording music from a CD after reassembly, playback sounds pretty much as good as the source (with the usual subtle tape artefacts and quality that make these old machines very desirable to give tracks some of that ‘secret sauce’).
List of entire service actions that were performed during checking of transport and record playback amps:
Cleaned + demagnetised heads, capstan and pinch roller
Head height and azimuth adjusted
Tape speed checked and spot on
W&F measured at 0.06% RMS
Playback alignment (Dolby level and EQ) with reference level, azimuth and frequency response test tapes
Meter calibration checked (ok)
Erase current adjusted to 32mV (was a little high)
Bias current adjusted to 50mV initially (was low)
Bias trap adjusted to minimal leakage (record amp)
Bias trap adjusted to minimal leakage (playback amp)
Record alignment (Level adjustment and bias currents tweaked for frequency response)
Overall signal to noise measurements checked
THD off tape recording measured at 0.18% average
Erase performance checked (slight adjustment to erase head)