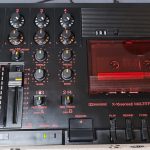
This good performer [but sadly some cost-cutting by Fostex] reel to reel came in for a repair and service. It was in generally good shape just needed a fair amount of TLC!
Issues reported:
High frequency drop off when playing, plastic parts broken (front control panel won’t stay on, capstan and right hand tension arm covers held in place with blu-tac), tape not spooling properly (catching on reel), channel 5 input not working. It has the MTC-1 interface attached.
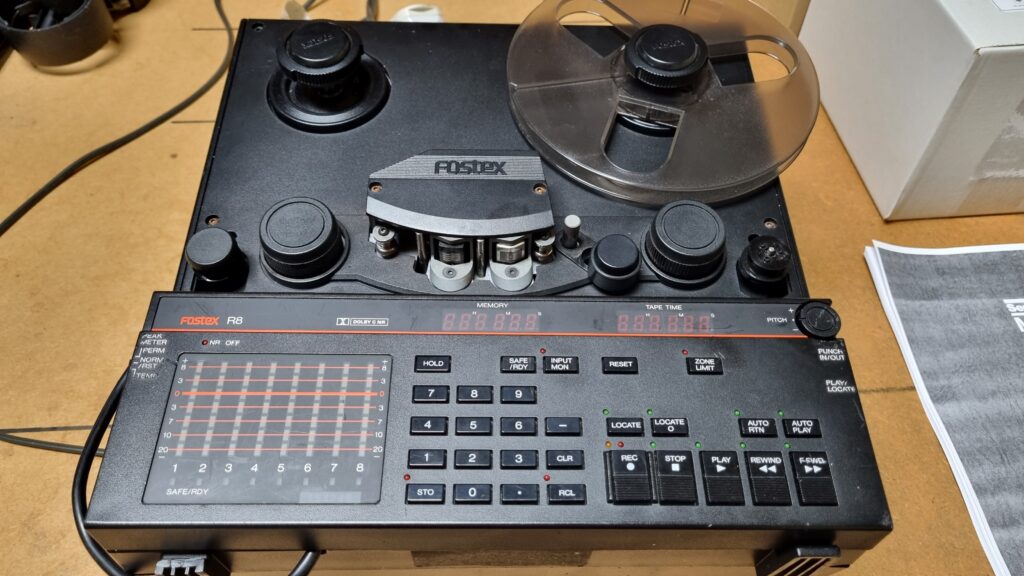
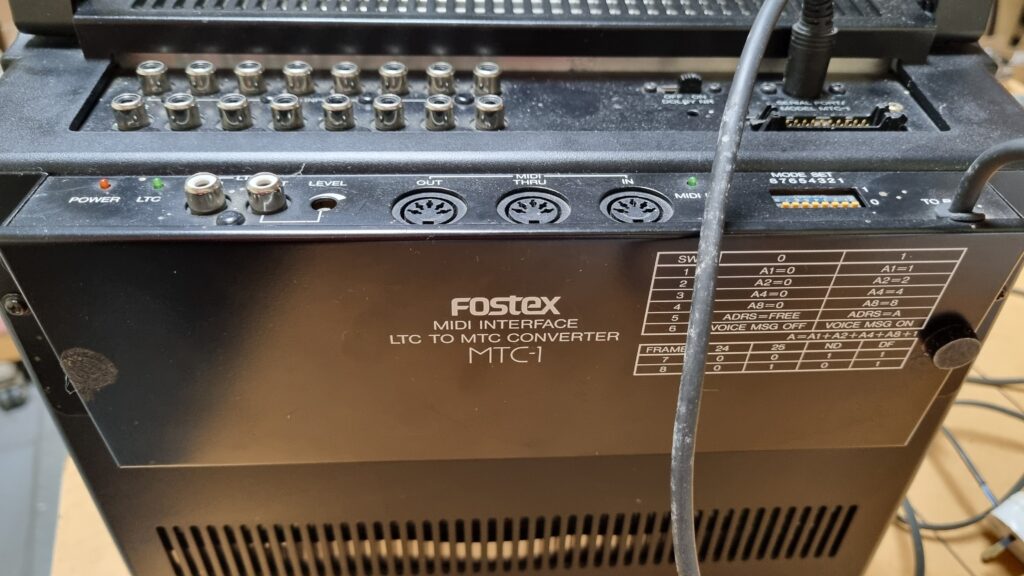
Preliminary inspection issues uncovered
Takeup tension arm cap insecure (broken plastic) – allowing too much movement riding up on spindle
Takeup tension arm wobbly seems to have too much perpendicular front-rear motion:
Supply tension arm same, and evidence of tape running into cap, wearing grooves – is missing small thin spacing washers.
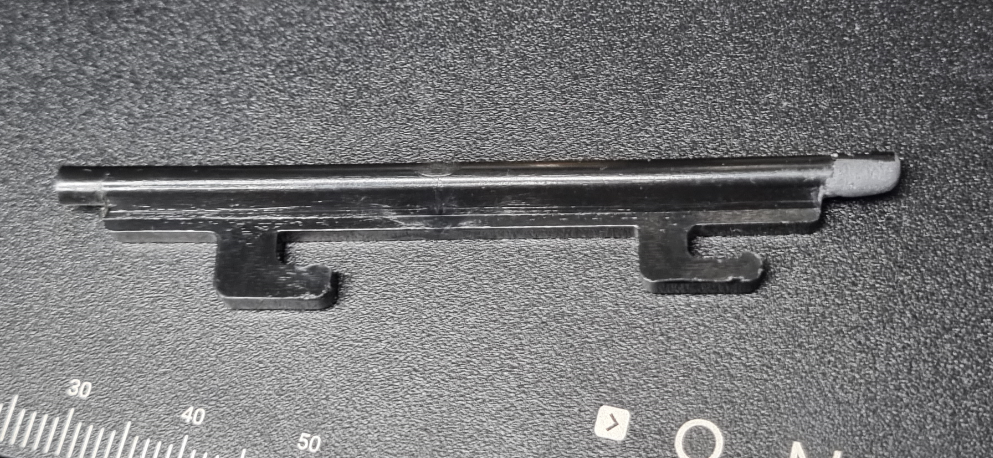
Broken RH control panel hook causing the loose front panel.
Broken left foot on case (unable to repair but only cosmetic)
Dirty tape guides (sticky shed syndrome tape – old Ampex 456 ? Discard, do not use again.)
Pinch Roller rubbing on panel
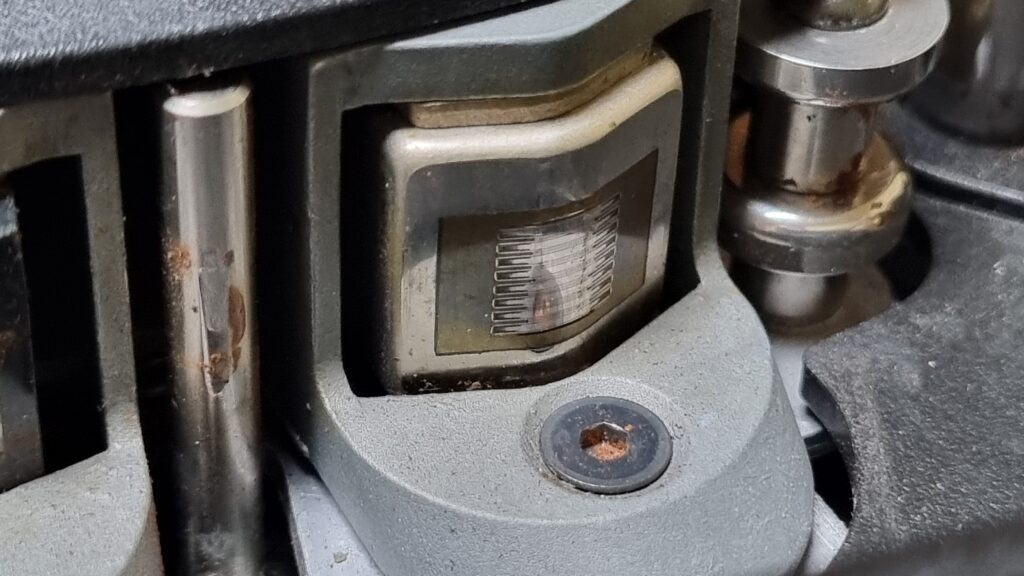
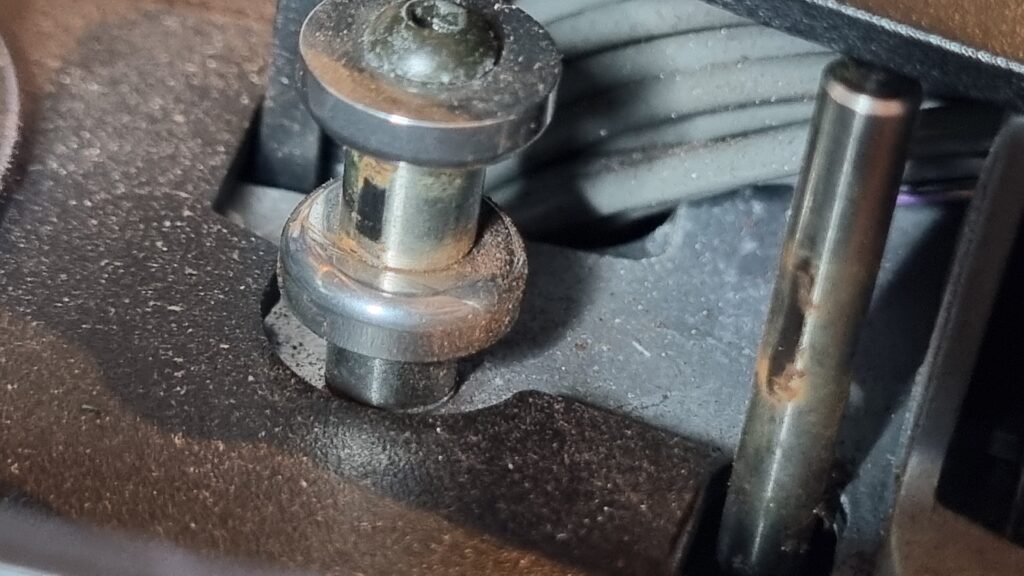
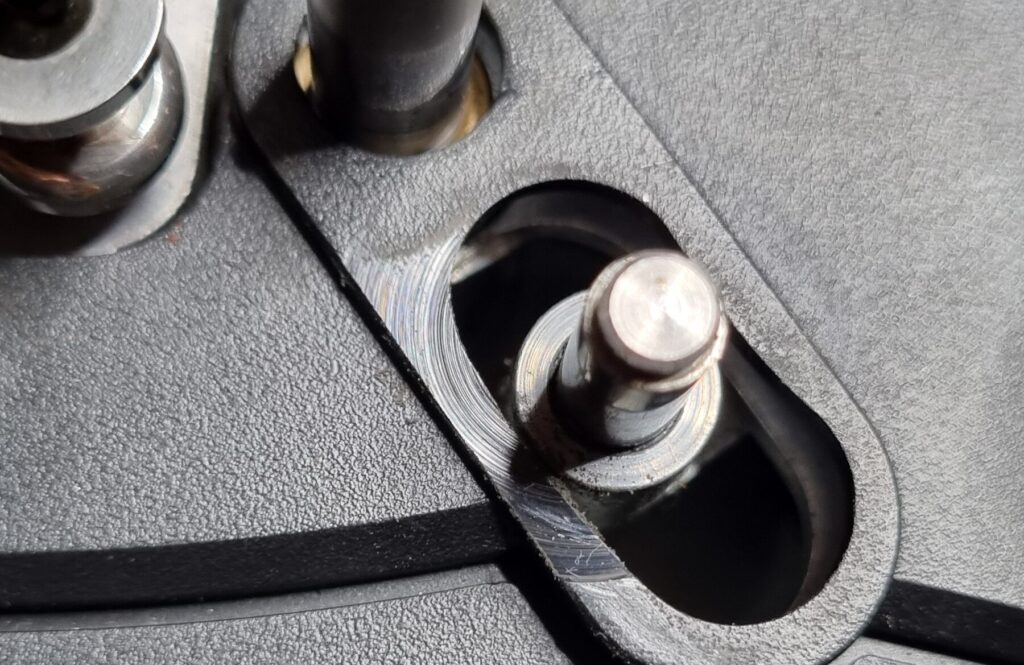
Pinch Roller cover not secure
REW tactile button not good (needs a push to operate)
Pinch roller very hard (serviceable for the time being but replacement recommended next service with capstan belt) and is missing thrust washers M6x12x0.5
Capstan was polished and shiny, could slip particularly with hard pinch roller
VU metering suspect (calibration will sort)
Missing front panel screw top left, other screws rusting
Missing rubber foot on MTC1
So there was quite a bit to look at mechanically before even starting to calibrate anything.
Critical mechanical service actions
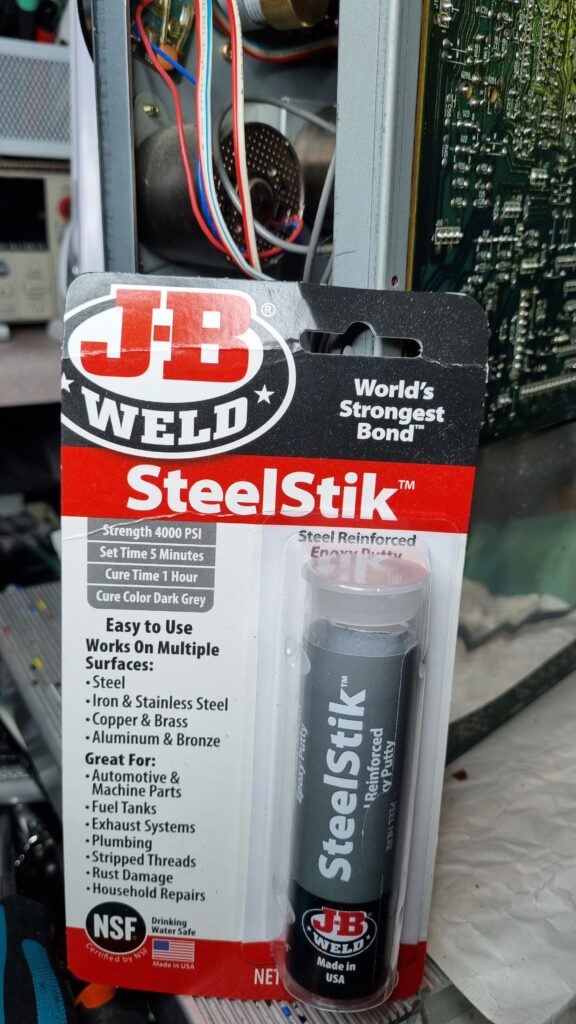
Left/right tension axis pivot shafts secured to fix arm play. This involved removal of arms, a slight twist of the arm to stiffen up the fit, whilst ensuring it remains perpendicular, and scuffing to prepare the press-fit area on the rear for a bit of Steelstik epoxy to help keep in place. Hopefully a permanent fix as long as arms aren’t forced away from their usual axis (see note at bottom about correct way to remove front cover without touching tension arm rollers or their caps).
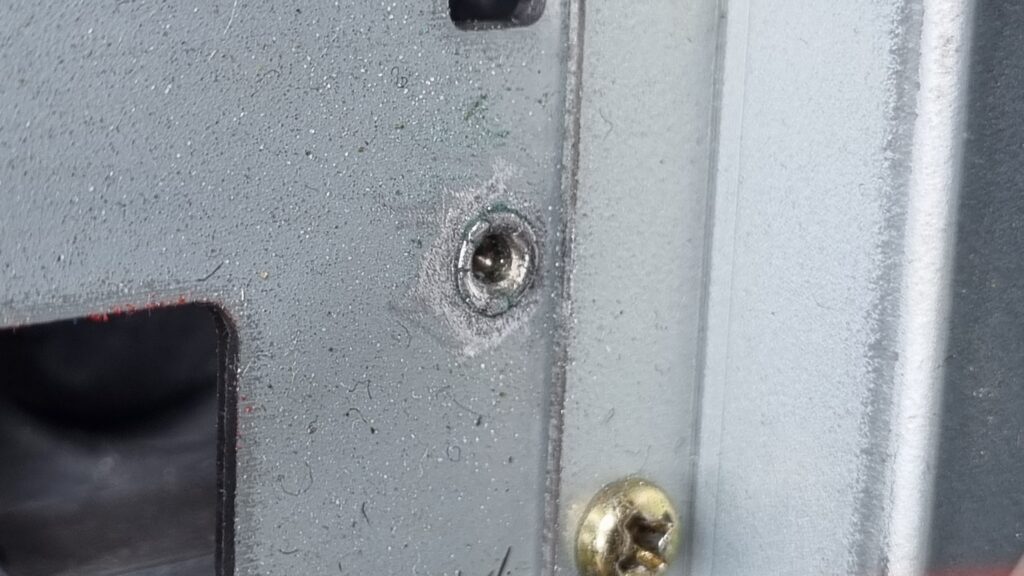
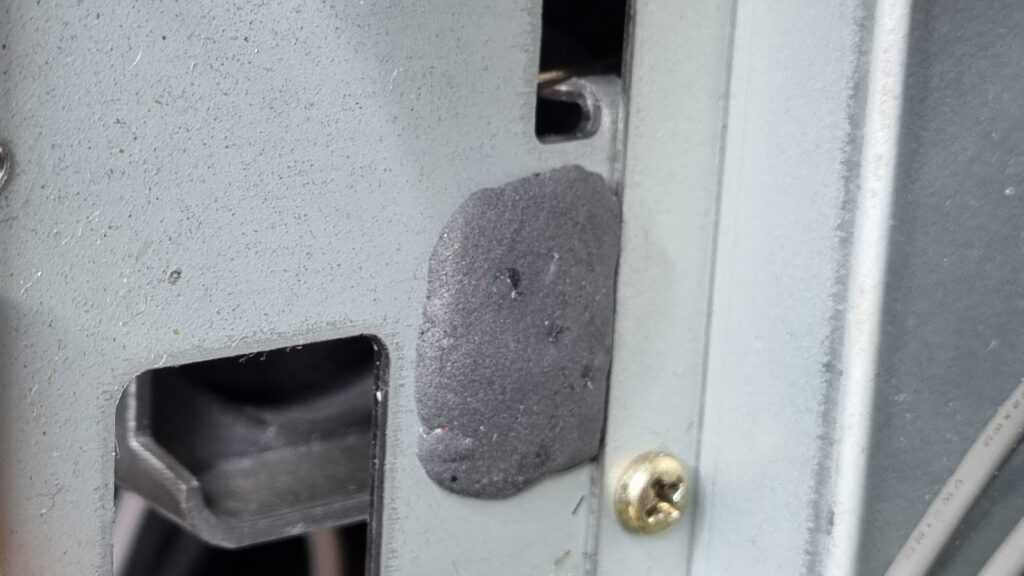
Perfect axial motion now: (repeated for the supply side too)
Tape path looking good and steady now
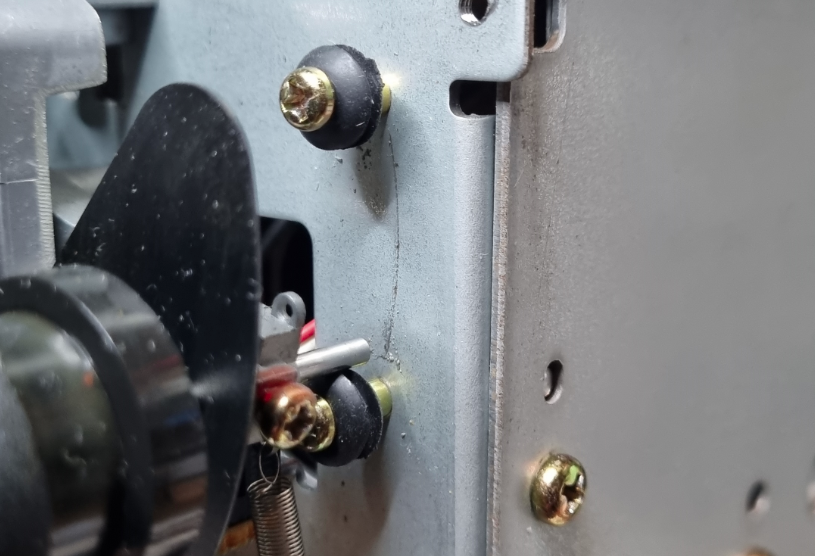
New rubber bump stops fitted to tension arms as existing were missing/rock hard (rubber grommets fit nicely).
Mechanical Alignment process
Table heights set to 1.5mm (left side was way off) – the green thread locker was stuck solid, it took some heat and effort to move them!
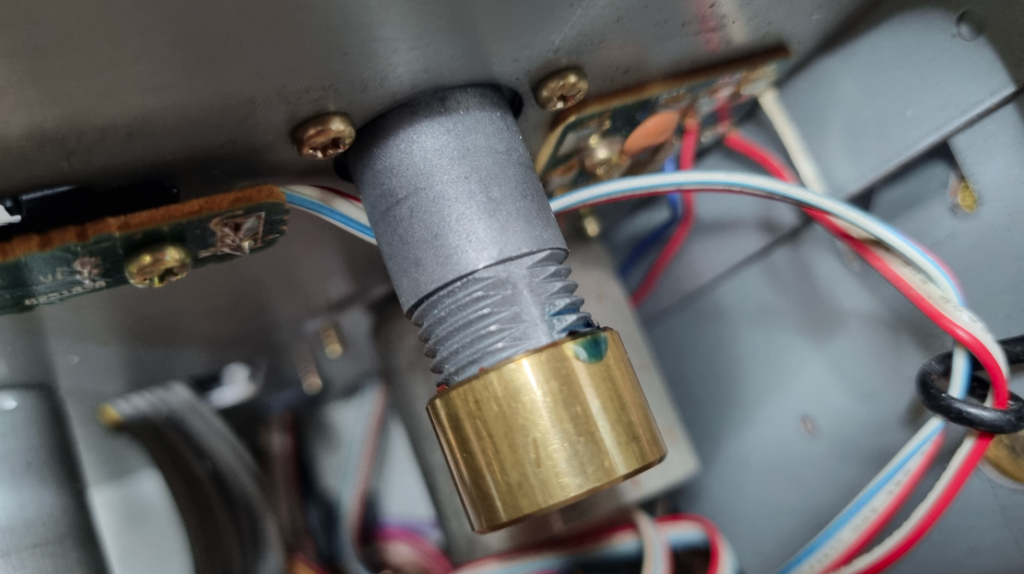
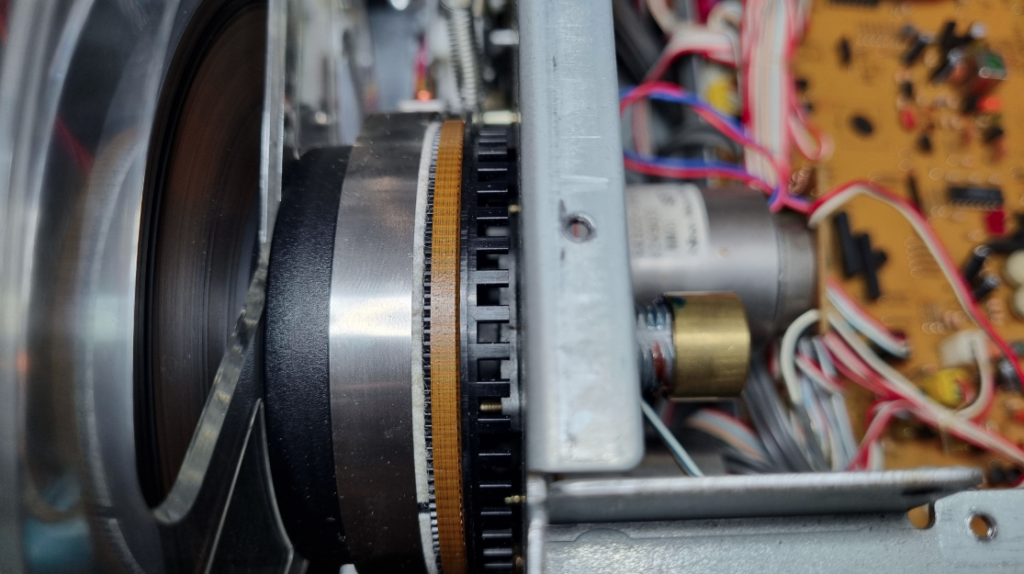
The missing pinch roller thrust washers replaced
Capstan reel shafts and motor shaft lubricated
The shiny, highly polished capstan shaft was restored for improved grip (400g emery paper wrapped around pinch roller for a few seconds):
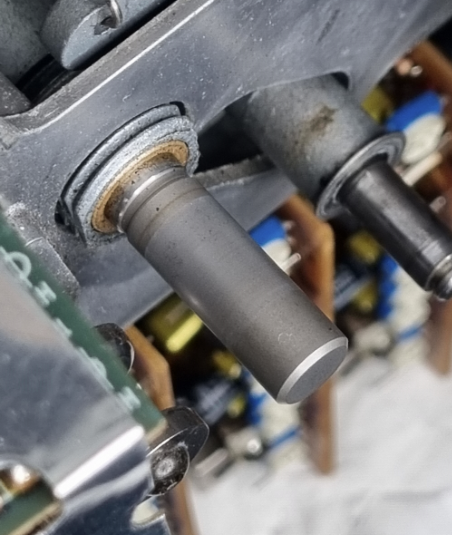
Lubrication of all tape path pulley shafts was performed (stops squeal)
Supply tension arm roller position was raised (it was too low) – now tape is wound central to reels in conjunction with the corrected table height:
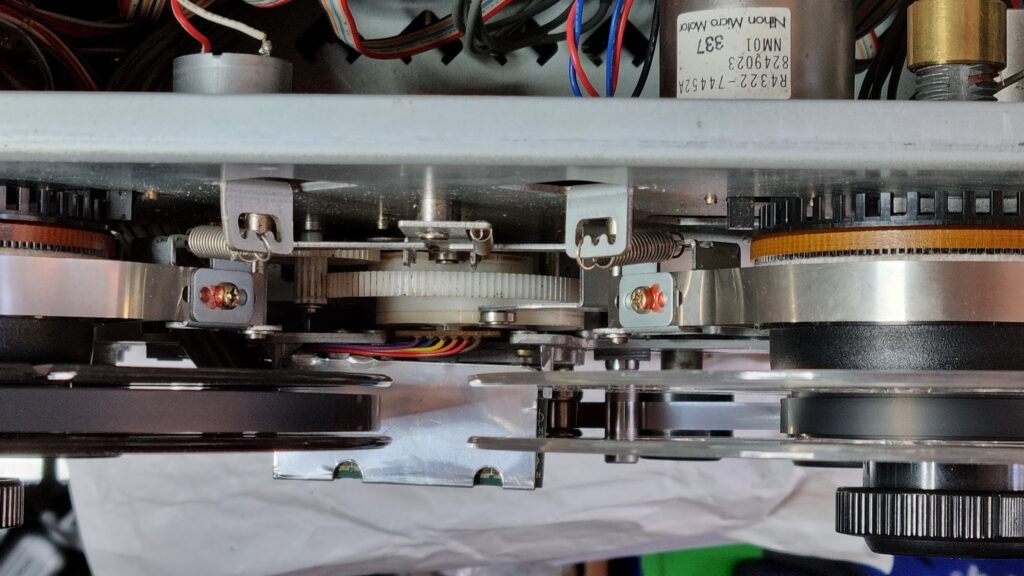
Braking forces measured with Sauter FC50 digital force gauge, on 6cm hub – Left 260g – 1560g/cm, right 200g – 1200g/cm, difference 30%, so was quite a bit out of spec.
The brake bands had been bent previously (mishandled?) and one of the spring mounting tabs was bent (probably an attempt to correct), these were all flattened out first, and brake arm gap adjusted per spec (before and after photos):
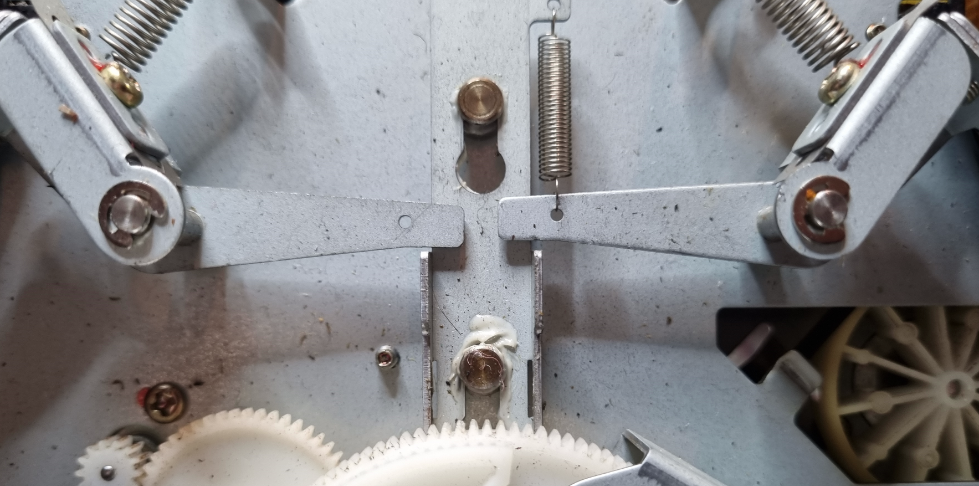
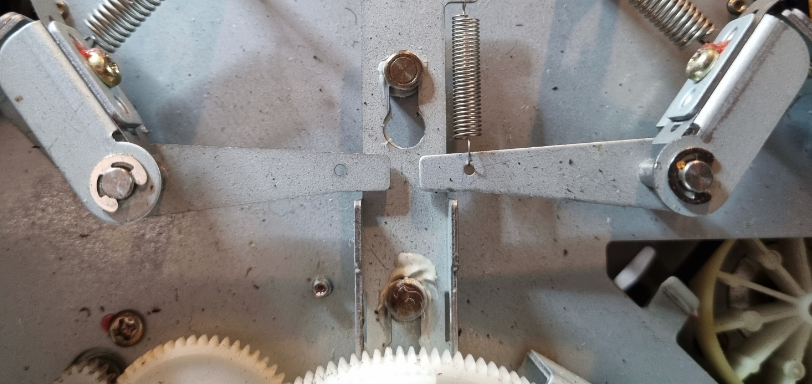
After brake tension adjustment – Left 200g, right 188g (on 6cm hub, so 1200g/cm, 1128 g/cm), difference 6% (spec is 900 +/- 300g/cm, diff 20%)
Take up and supply tape tensions adjusted – at Beginning of Tape – 60g supply, 40g takeup, at End of Tape – 70g supply, 60g takeup
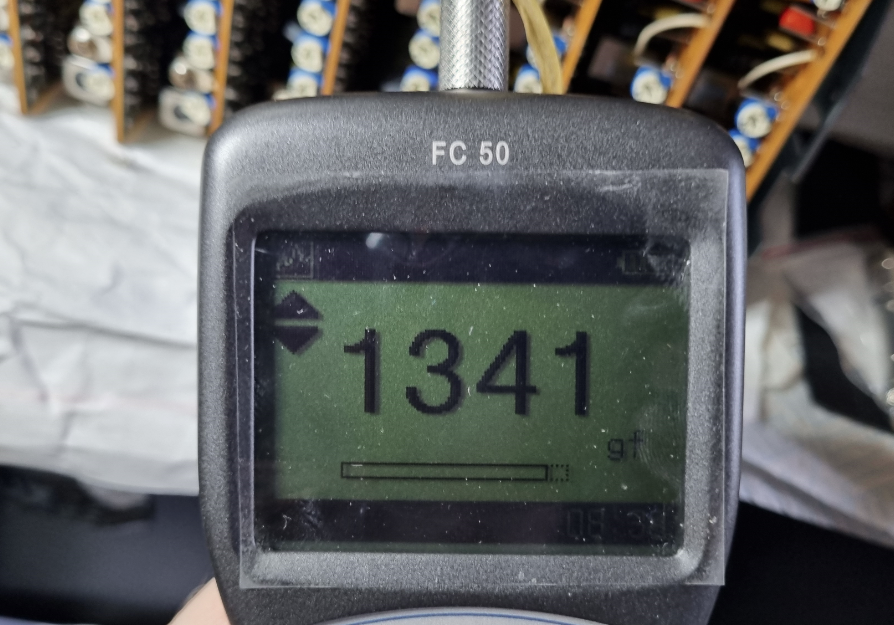
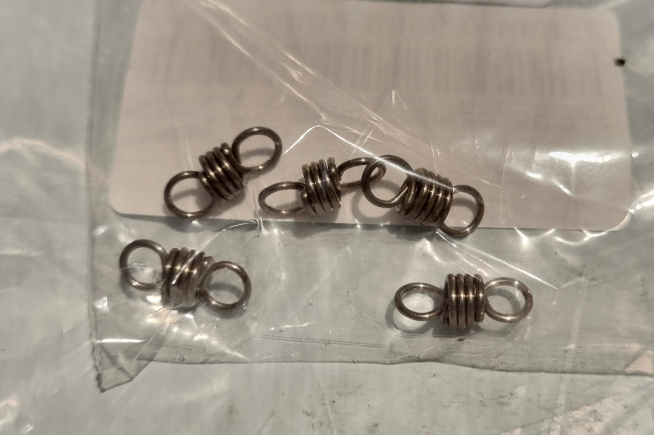
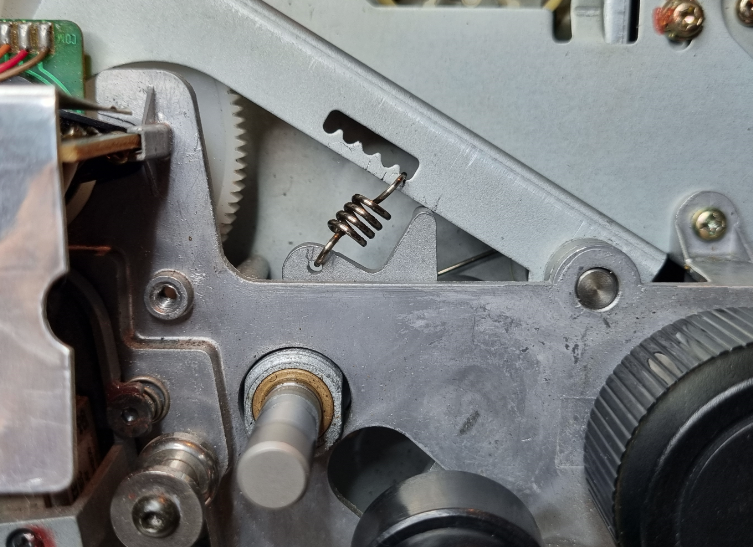
Pinch roller pressure was way down at 1200g but spec is 1700g +/- 200g. At its highest spring setting it was only providing 1341g, the spring had been over stretched (there were gaps between coils at rest), so a replacement was ordered.
The electronic alignment process
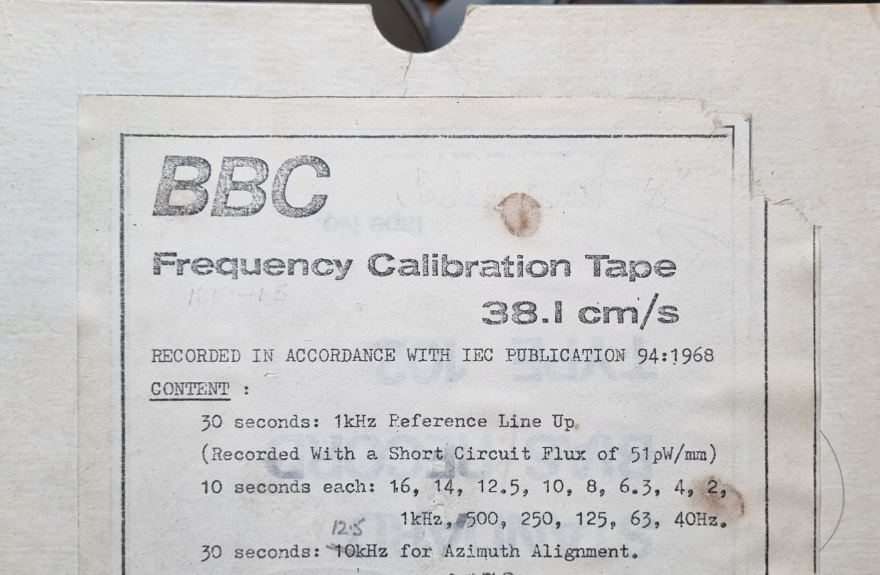
Demagnetised and cleaned tape path again and warmed up machine for 20 minutes before alignment… Made use of ex-BBC alignment tape:
Tape Speed measured at 985hz, adjusted to 1000 (was 1.5% down)
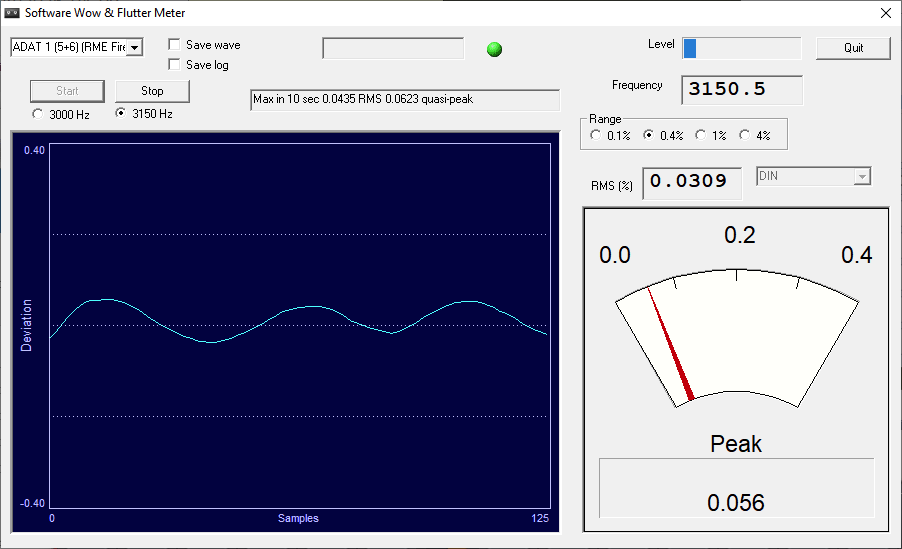
W&F measured at 0.06 peak DIN 0.03%WRMS
3150.1 0.0336 0.0675
3150.3 0.0325 0.0675
3149.8 0.0295 0.0675
3149.6 0.0299 0.0659
3149.8 0.0289 0.0640
3149.2 0.0314 0.0630
3148.9 0.0360 0.0669
3149.0 0.0297 0.0669
3149.3 0.0320 0.0669
3149.8 0.0352 0.0669
Azimuth was good, no adjustment needed
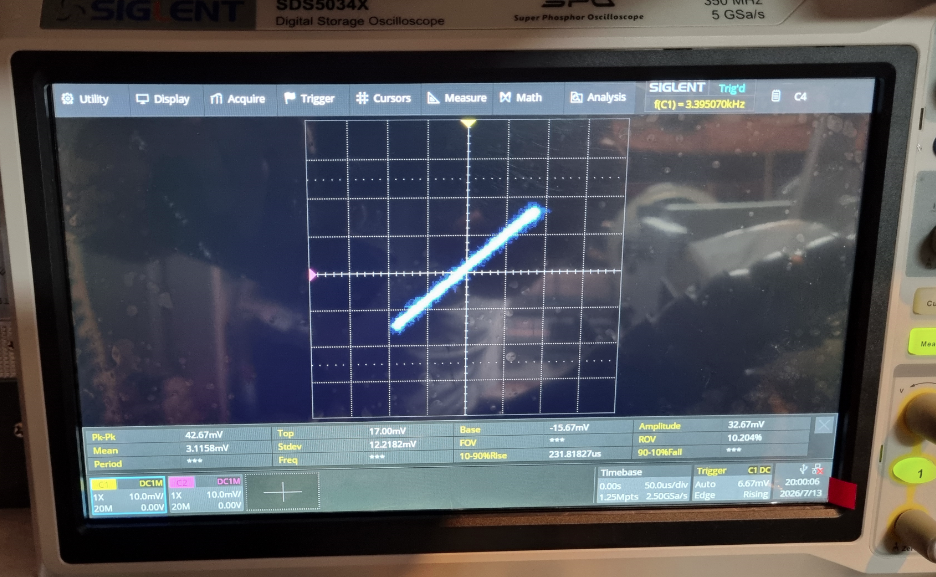
Adjustments, for all 8 channels:
Adjusted input record calibration (was slightly high) to 245mV spec with 1KHz, -10dB input
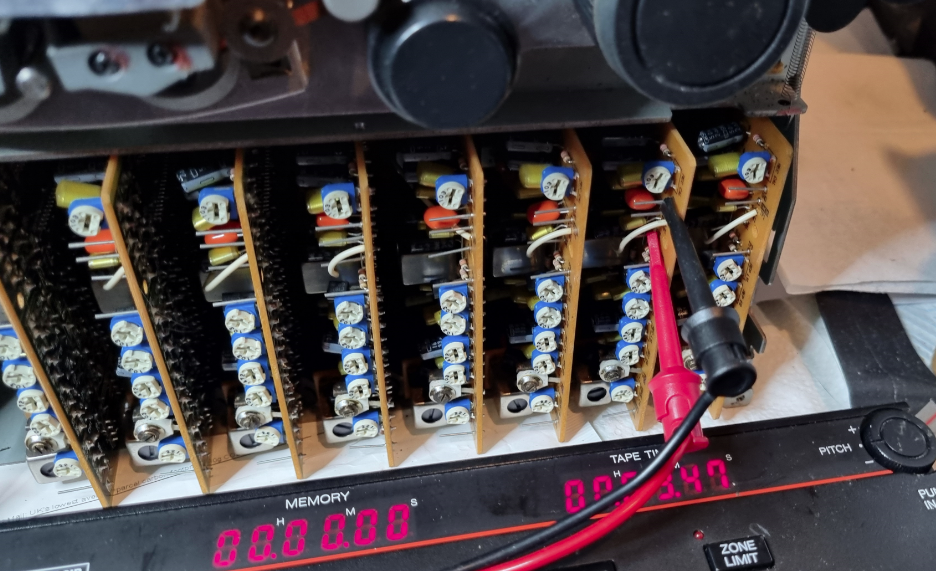
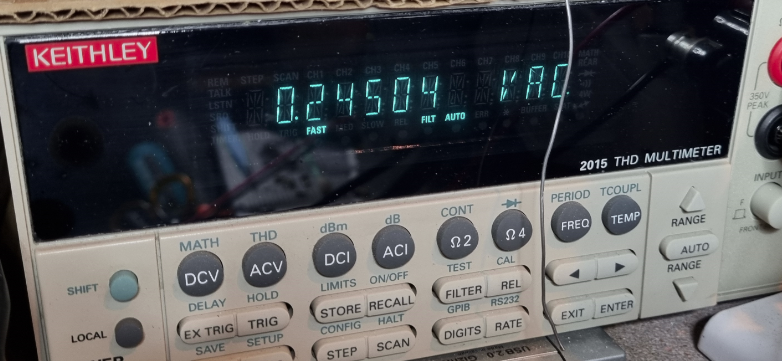
VU Meters calibrated to 0dB at -10dB input
Noticed CH5/6/7/8 was also overlapping 1/2/3/4 (input jacks 5-8 have switches that jumper 1-5, 2-6, 3-7, 4-8 and become independent when a jack is inserted) – and couldn’t find an issue with channel 5.
Adjusted repro (playback) levels from BBC tape (161nW flux – half level of 320nW test tape) so -6dB vs 0dB metered
Playback EQ confirmed to be all within tolerance (+/-1.5dB, spec +/- 3.0dB)
Bias leakage checked OK within limits
Erase current adjusted (core peak levels had drifted somewhat)
Bias current adjusted
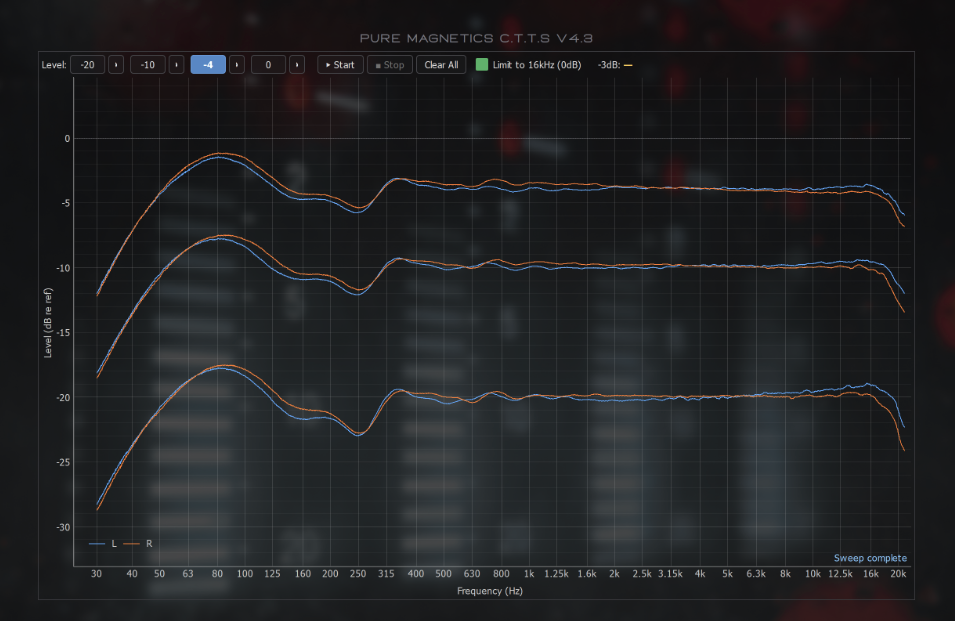
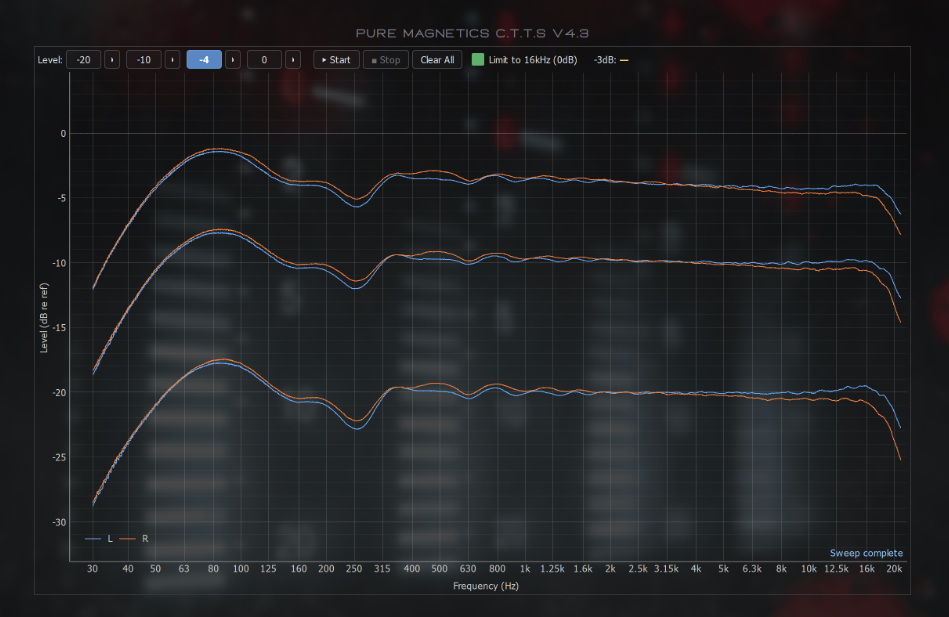
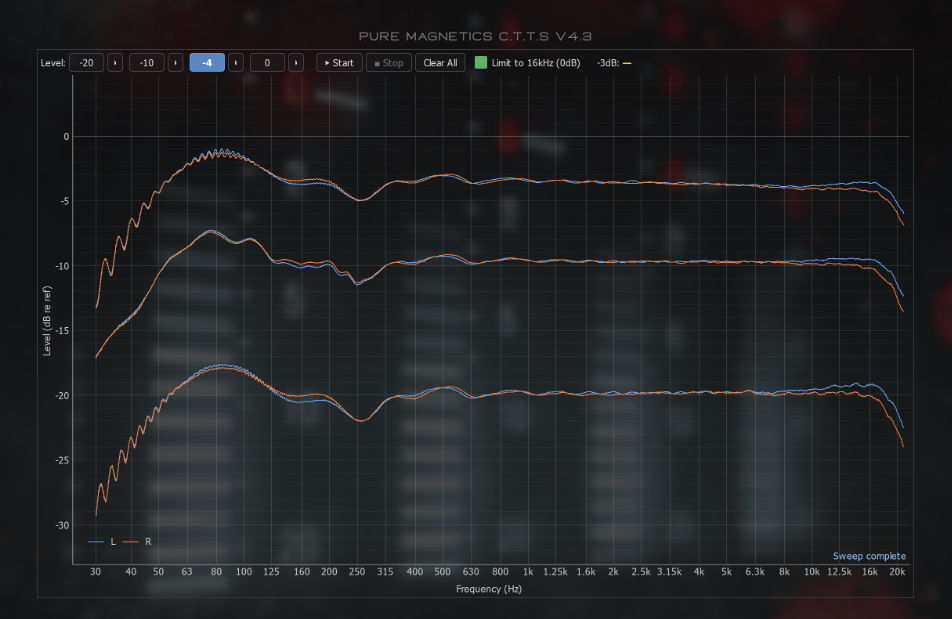
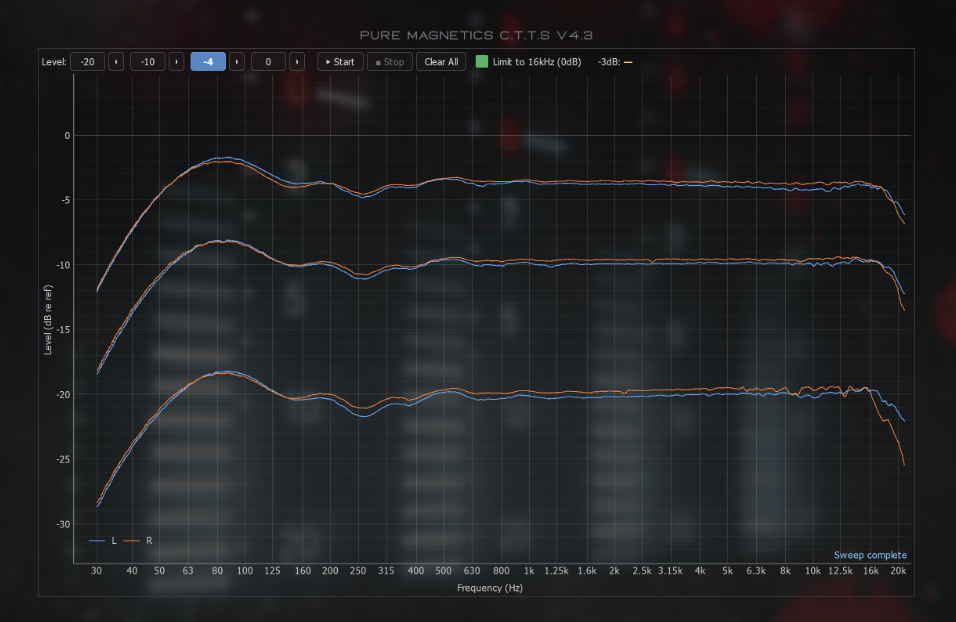
Rec level + EQ calibrated and to within 1dB across sweep both NR off and on
S/N measurement taken – 60dB unweighted
THD measured < 0.5%
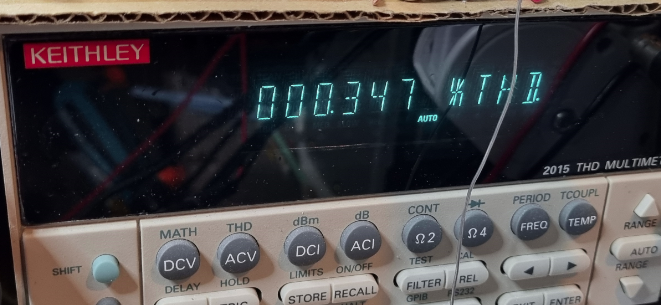
Erasure measurement passed
Sync crosstalk passed
Custom fix for broken cap
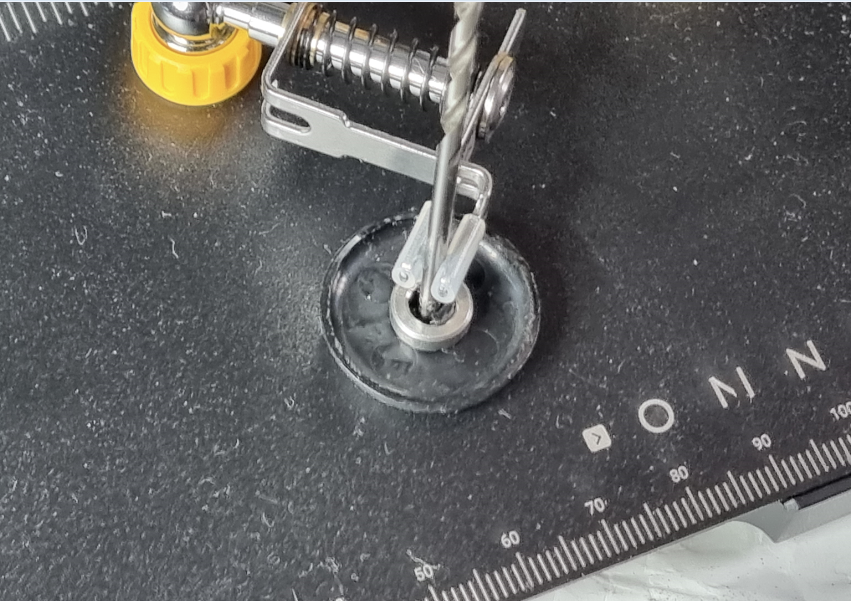
The broken plastic tension arm roller cap was repaired, temporarily fitted a suitable bushing to contain material and a 3/8 drill bit for the centre ‘hole’and built up the remaining broken plastic with steelstik, after removal of the bushing, later secured with thin stainless washer (the other cap was bolstered the same) way.
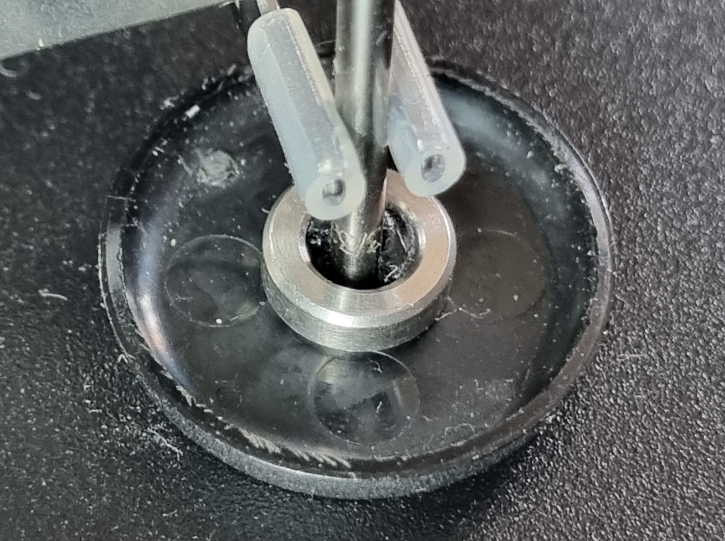
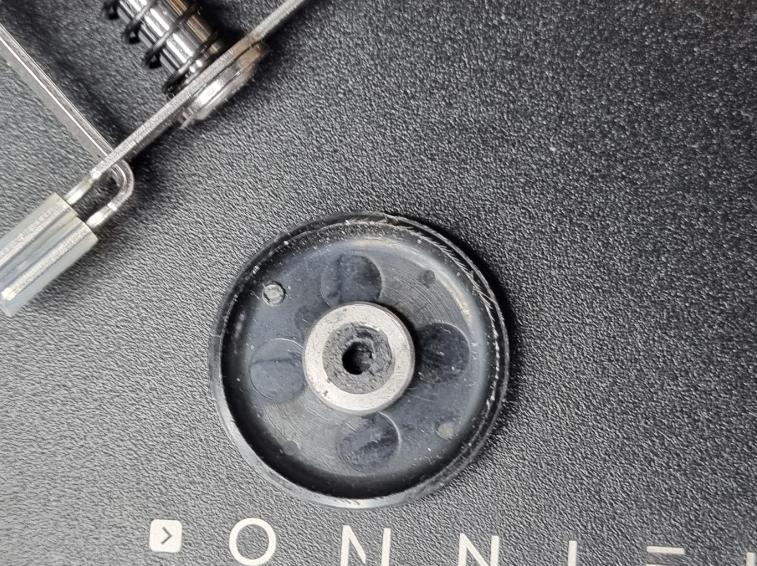
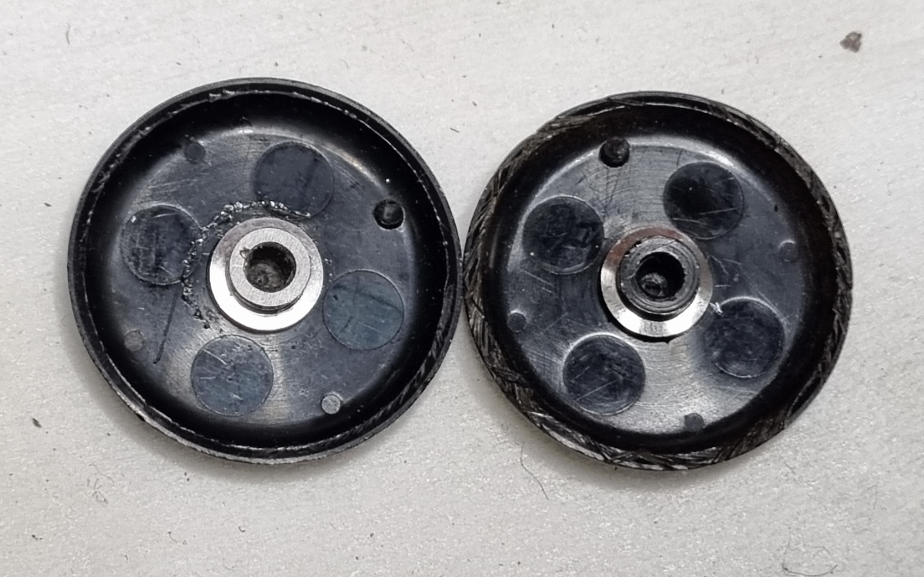
Missing 2.5mmx5mmx0.3mm nylon washers fitted to tension roller shafts, reducing amount of front-rear play to maintain good tape path alignment
Added support to broken control panel hook – may not last but can look at pinning it or something if it fails again:
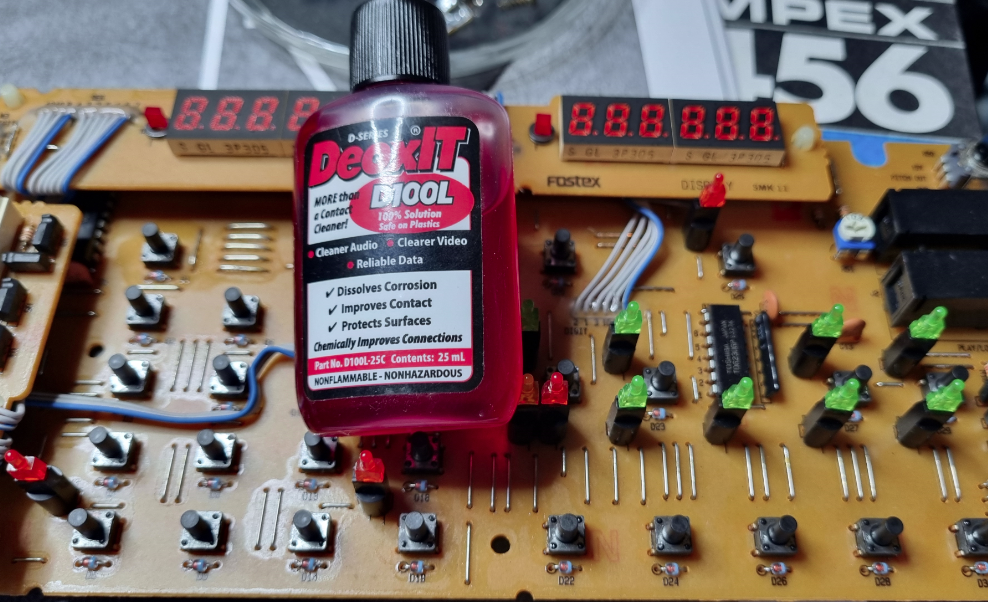
Cleaned and deoxidised control panel buttons, no hard press on REW now)
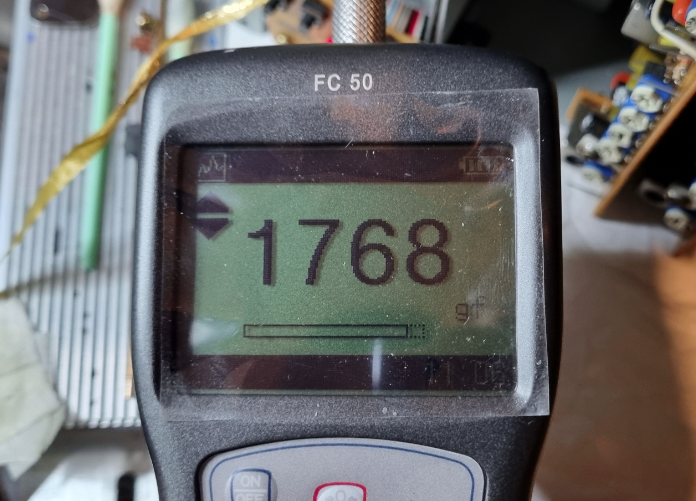
Pinch roller pressure spring replaced and measured at 1768g (spec 1700+/-200)
Washer added to pinch roller arm to lift up by 0.5mm and help clear the pinch roller dragging on the front cover which was also adjusted slightly to provide clearance.
The pinch roller had the correct washers fitted and the cap shimmed slightly to provide a usable fit without need for blu-tac !
Reassembled the casework, MTC1, handle etc
Fitted new stainless steel hex screws to front panel and head cover (existing were showing signs of rust and one missing)
Fitted new rubber feet to MTC1 so deck could be used flat without wobbling!
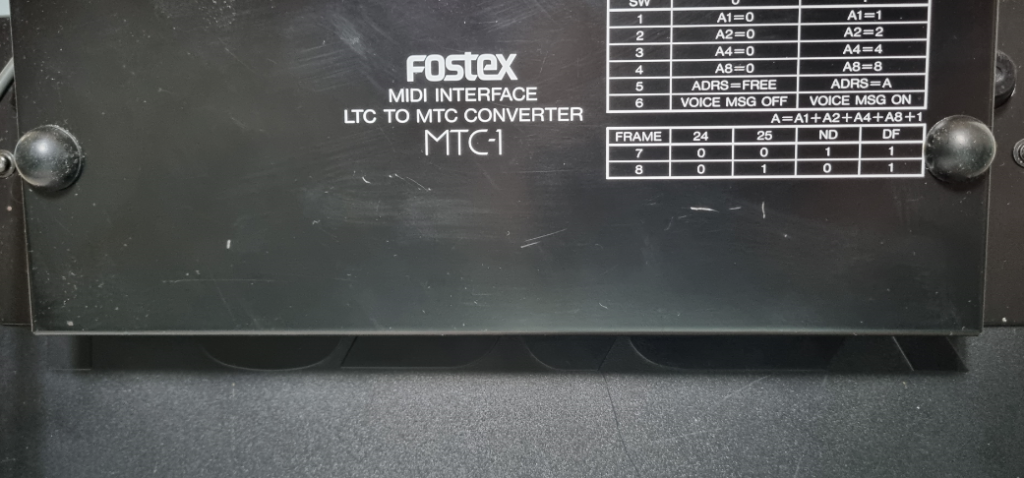
Ran final test, and found the MTC1 can interfere with the tape counter reset function (as it can control/override such things), advise leaving unplugged if not used, and last check of W&F measured 0.056% peak:
With newly acquired ‘PM-CTTS’ software (excellent), took some FR Sweep measurements at -20, -10 and -4dB
Precautions of note:
Do not use old Ampex 456 tape (sticky shed syndrome)
Do not press down or lift up on the tension arms – if front panel is needed to be removed, take out the covers behind the tension arm rollers to create the holes needed to pass through (some online ‘guides’ say the tension arm caps and rollers are to be removed to take the front panel off, this is not the case and likely leads to the problem of loose tension arm shafts)
Take care when removing/replacing the control panel from front of machine particularly RH side.
Machine returned to customer who was looking forward to getting his machine back and into service!
See more Fostex repairs and reel to reel articles